
There is a saying among professional painters that the finish is only as good as the preparation underneath it. This could not be more true, especially here in Michigan where fluctuating temperatures, humidity changes, and seasonal moisture can do a real number on your walls over time. Whether you are refreshing a single bedroom or tackling a whole-house interior project, knowing how to properly prepare your walls before a single drop of paint is applied makes an enormous difference in how the final result looks and how long it lasts.
At Blackhurst Painting, we see it all the time. Homeowners who have attempted DIY painting projects come to us wondering why their freshly painted walls already look patchy, uneven, or are starting to peel after just a season or two. In almost every case, the issue was not the paint itself. It was the preparation — or the lack of it.
Let us walk you through what proper wall preparation really looks like, why each step matters, and what you should expect when you hire a professional painting company to handle it right.
Why Wall Preparation Is the Foundation of Every Great Paint Job
It might be tempting to think of wall prep as a minor step you can rush through to get to the fun part — choosing colors and watching your space transform. But skipping or shortcutting prep work is one of the most common reasons paint jobs fail prematurely. Paint is designed to bond to a clean, smooth, properly primed surface. When the surface underneath is dirty, damaged, or uneven, even the highest quality paint in the world will struggle to adhere correctly.
Michigan homes face a particular set of challenges. Our winters are cold and dry, which can cause walls to contract and develop hairline cracks. Our summers bring heat and humidity that can cause existing paint to bubble or peel. And if you have older construction, you may be dealing with layers upon layers of old paint, some of which may be failing at the bond level. All of these factors make thorough preparation even more important here than in more temperate climates.
The Cost of Skipping Prep Work
Cutting corners on prep might save a little time up front, but it almost always costs more in the long run. Paint that peels, cracks, or fades prematurely means repainting sooner than you should have to. Professional prep work is an investment in the longevity of your paint job and the overall condition of your walls and surfaces.
Step-by-Step Wall Preparation for Interior Painting
Professional wall preparation involves several distinct steps, each of which plays an important role in the final outcome. Here is what a thorough prep process looks like from start to finish.
Cleaning the Walls
Before anything else, walls need to be cleaned. Over time, walls accumulate dust, grease, grime, cooking residue, handprints, and other contaminants — particularly in kitchens, bathrooms, and high-traffic hallways. Paint does not stick well to dirty surfaces, and washing first ensures a clean foundation for everything that follows. Professionals use the appropriate cleaners for each surface type to avoid damaging existing finishes or leaving residue behind.
Repairing Damage and Imperfections
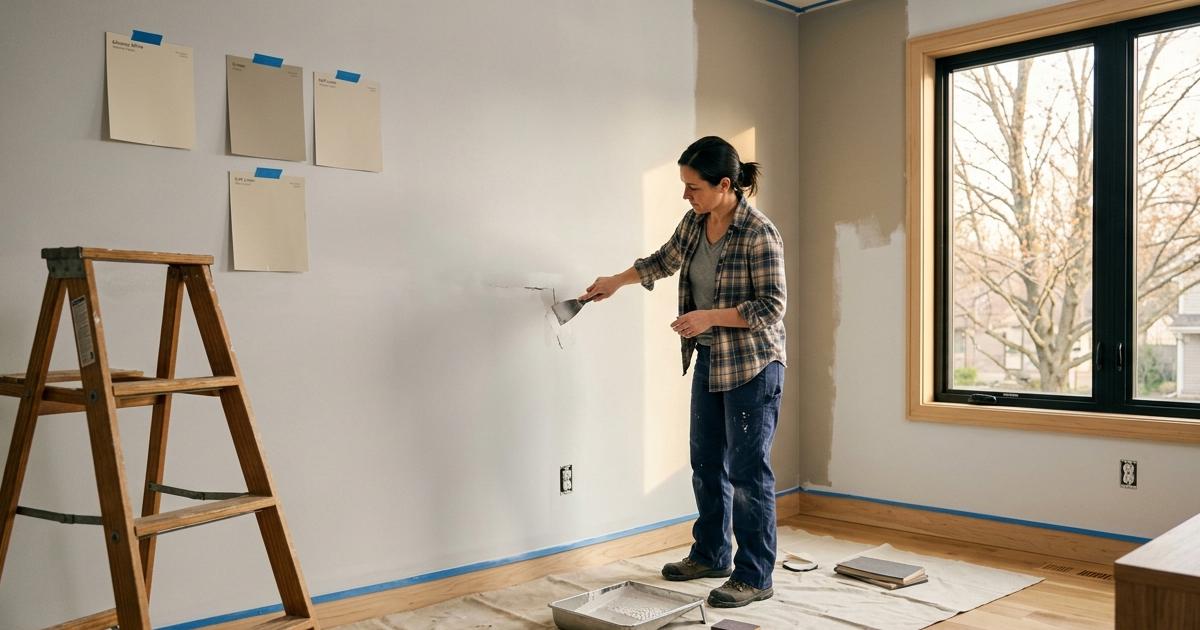
Once walls are clean and dry, it is time to address any damage. This step is arguably the most detail-oriented part of the process. A skilled painter will inspect every wall carefully and address issues like nail holes, dents, gouges, hairline cracks, larger cracks, water-damaged areas, and any spots where old paint is peeling or flaking away. Each type of damage requires a slightly different repair approach.
- Small nail holes and minor dings are filled with lightweight spackle and sanded smooth once dry.
- Larger holes may require joint compound, mesh tape, or even a patch depending on the depth and diameter of the damage.
- Hairline cracks along trim lines or in drywall seams are cleaned out, filled, and feathered carefully so they blend into the surrounding surface.
- Areas with peeling or flaking paint are scraped down to a stable layer before being primed and treated.
- Water-stained areas are treated with a stain-blocking primer to prevent bleed-through after painting.
This step requires patience and a careful eye. Rushing through repairs is one of the most visible ways that a paint job can disappoint. Even under a fresh coat of paint, an improperly repaired wall will show texture inconsistencies in the right lighting.
Sanding for a Smooth, Uniform Surface
After repairs are made and have dried completely, sanding brings everything to a smooth, even finish. Sanding is also used to lightly scuff existing surfaces so that new paint can bond more effectively. This is especially important when painting over high-gloss finishes or when transitioning between paint sheens. Professionals use appropriate grit sandpaper for each stage of the process and are careful not to over-sand areas that have been repaired.
Priming the Surface
Priming is a step that DIYers frequently skip in the name of saving time and money, but it is one that professionals almost never skip — and for good reason. Primer serves several critical functions. It seals porous surfaces so that paint goes on evenly, it helps paint adhere more strongly to the wall, it prevents stains from bleeding through, and it can help with dramatic color changes by giving the new color a more neutral base to build on.
Not all primers are the same, and choosing the right one for each specific situation makes a real difference. Oil-based primers are ideal for stain blocking. High-build primers help smooth out surfaces with minor texture variations. Shellac-based primers work wonders on smoke-damaged or odor-affected walls. A professional painter knows which primer to reach for in each scenario.
What Professional Prep Work Looks Like on the Job
When Blackhurst Painting arrives at your home, our prep process is thorough and systematic. We protect your floors, furniture, and trim with drop cloths and painter's tape before a single repair is made or a drop of paint is opened. We take the time to address every imperfection we find rather than painting over problems and hoping they disappear. We make sure repairs are fully dried and sanded before moving on. And we select and apply the appropriate primer for your specific walls and the colors being applied.
This approach is not the fastest way to do the job, but it is absolutely the right way. Our clients regularly comment on how smooth and flawless their walls look after a Blackhurst paint job — and that quality starts long before the first coat of finish paint is ever rolled on.
What Michigan Homeowners Should Watch For
If you are evaluating painting contractors or considering a DIY project, here are a few things to keep in mind when it comes to prep work. A contractor who shows up and starts painting immediately without spending time cleaning, repairing, and priming is cutting corners. Similarly, a DIY project that skips the patching and priming stages in favor of jumping straight to paint is likely to show its shortcuts within the first year or two, especially in a climate as demanding as Michigan's.
Good prep work takes time. It is not glamorous, and it is not the part that makes for exciting before-and-after photos. But it is the reason why a professionally prepared and painted wall still looks fresh and beautiful years down the road while a rushed job starts showing its age far too soon.
Ready to Start Your Project the Right Way?
If you are planning an interior painting project in Michigan and want results that truly last, Blackhurst Painting is here to help. We bring the same careful, thorough approach to every home we work in — whether it is a single accent wall or a complete whole-home refresh. Our team takes prep work seriously because we know it is what separates a paint job that looks great on day one from one that still looks great three, five, or even ten years from now.
Reach out to us today to schedule a consultation and get an accurate estimate for your project. We would love to show you what a truly well-prepared, professionally painted space can look like in your Michigan home.
